TIPS & TRICKS
New Life for Old Furniture
Jan 27, 2020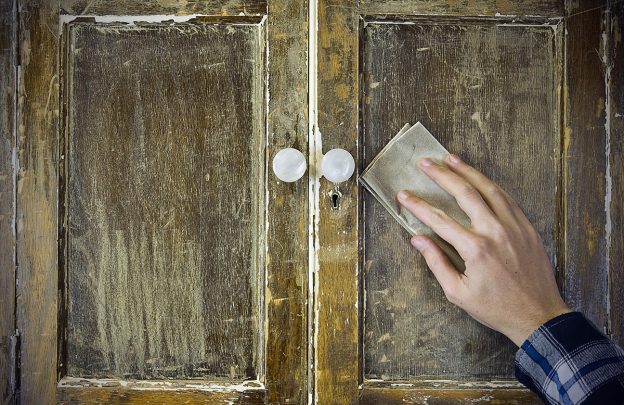
If you own or come across an old piece of furniture that appears to be on its last legs, you may be inclined to throw it away. Like grandpa’s heavy old dresser that’s past its prime and only serves to occupy valuable garage space. However, although the wood may be dried and damaged, it may be revitalized. Even if you aren’t exactly a ‘Do-it-Yourselfer’, you can restore old furniture to its former glory with relative ease.
Initial Prep
Remove any handles, knobs, or any other accents that may be present. Proceed to wash the wood surfaces. You can use any regular dish detergent by dipping a sponge into soapy water and scrubbing, being sure to remove all dirt and foreign substances. Make it as clear as possible so that the new paint may best adhere. Then use a clean damp lint-free cloth for a final wipe-down. Take a break and let it sit for about six hours or until completely dry.
Sanding Smooth
Perform a thorough inspection, looking for prominent chips, dings and damage that you can repair with good wood filler. With a putty knife, spread away any excess before letting it dry. Use a fresh piece of sandpaper and smooth it all out. If you can determine the type of wood you’re working with, get sandpaper that is specifically designed for it. Otherwise, use a medium grit (100 – 140) and apply some real effort by sanding the piece until the entire surface is uniform, flush, and devoid of all old paint. There is a chance you could skip the sanding process entirely, if the furniture is mostly smooth to begin with. But for best results a little elbow grease goes a long way. Then, use masking tape to cover the hinges and any other spots that you intend to remain untouched from the paint.
Prime Time
Before painting, please be certain the space you’re working in is well-ventilated. You don’t want any noxious fumes having an adverse effect on your well-being. And before a brush touches the surface, there’s got to be priming. This will ensure a quality paint job that won’t chip or flake. Using a spray can apply a single, easy all-encompassing layer of primer, taking your time and covering all areas. Follow that with another evenly distributed coat and let dry 90 minutes before starting the last step.
Breathe & Brush
Mix the paint until it is at the preferred consistency. Stir if necessary. Pre-wash your brush to remove all dirt and tiny particles. With lengthy light-touch strokes, evenly apply the paint upon the surface. Be certain to cover any and all tiny crevices and carved décor. This is the first and perhaps only coat needed. Let it dry. If it is not as opaque as you prefer, add additional coats until it meets the desired shade.

Almost Finished!
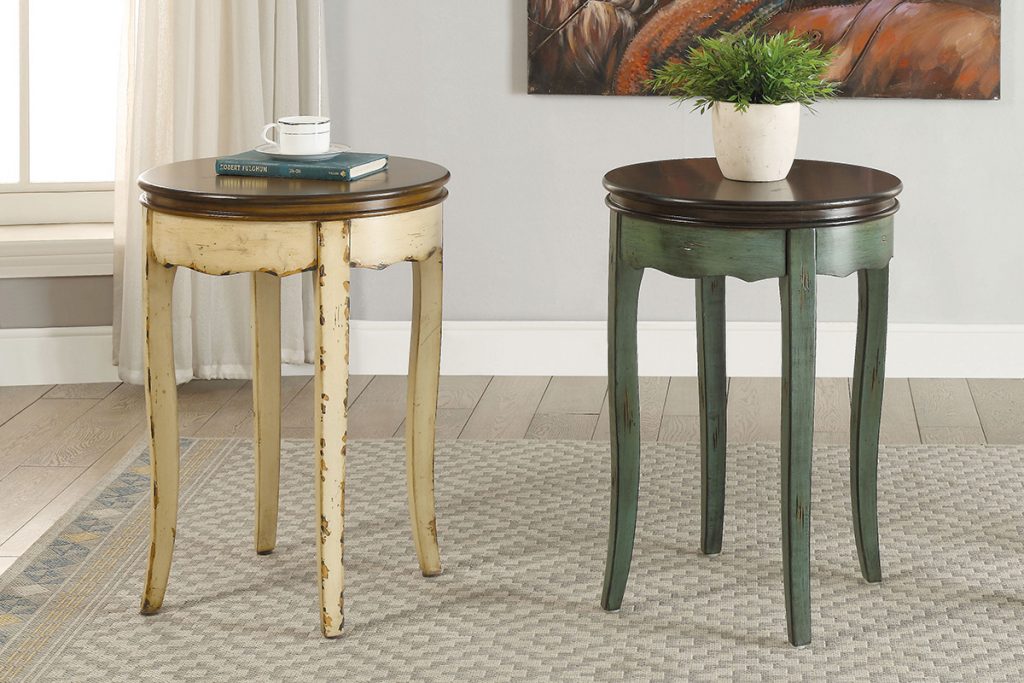
Seal the deal with a waterproof sealer – choose one that provides excellent coverage and protection. This will help guard against damage from liquids, ash, and other unexpected encounters. Voilà! You now have a beautifully refurbished piece of furniture that was previously a lost cause! You may now pat yourself on the back for completing your very own DIY furniture project!

myFOA® App now with Augmented Reality
by Post by FOA Team Feb 28, 2019Say goodbye to receiving a product that looks nothing like the picture. Say goodbye to receiving products that are larger or smaller than you imagined. And finally, say goodbye to wasting time returning items because it’s simply not what you expected. Join us in celebrating the launch of Furniture of America’s new App that brings
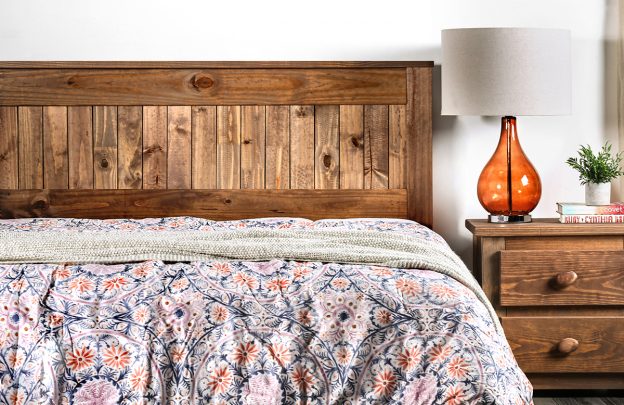
At the Head of the Bed: A Brief Headboard Handbook
by Post by FOA Team Mar 13, 2020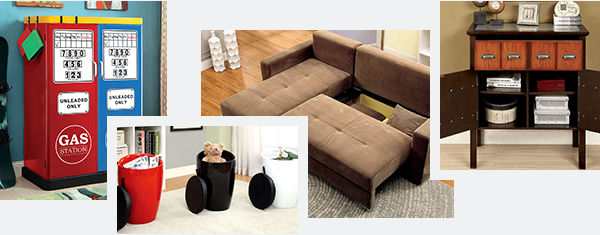
Space-Saving with Style
by Post by FOA Team May 13, 2016There is always room for improvement when it comes to organizing and getting the most out of your home. It can be challenging at times to find the right piece of furniture that can satisfy both taste and storage needs. These suggestions will help to declutter any living space and help you create a more